Pearl texture is shaped by a sequence, not a single clock number. Brand, size, and package instructions vary, so use the checkpoints below as a way to read your batch and make one deliberate adjustment at a time. This guide is a reference framework rather than a physically tested universal recipe.
1. Start with a full boil and enough water
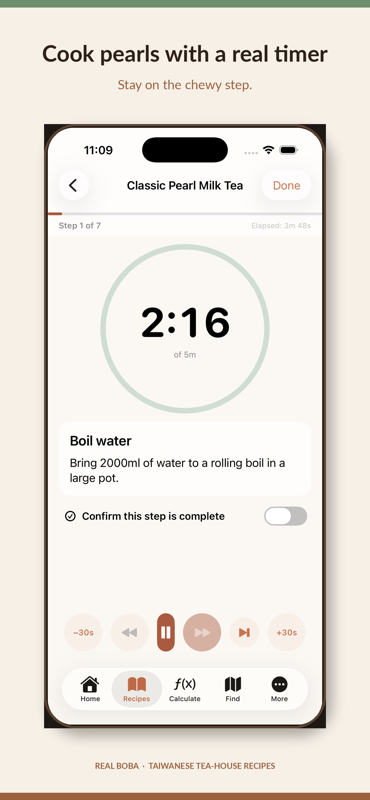
Bring the cooking water to a steady full boil before adding the pearls. Enough water gives the pearls room to move and helps the temperature recover after they go in. Follow the package timing when it differs from a general guide; the goal is a consistent baseline for the brand you have.
2. Stir early, then protect the simmer
Stir near the beginning so the pearls do not settle into a single layer on the bottom. After that first movement, keep the boil steady rather than constantly disturbing the pot. A calm, repeatable cooking rhythm makes the later rest easier to compare.
3. Treat covered resting as part of cooking
The covered rest gives the center time to finish setting after the active boil. If the outside is soft but the center is still firm, review the rest checkpoint before changing every other part of the drink. Keep the lid on and record what you actually observe.
4. Rinse briefly and coat while warm
A brief rinse can remove excess surface starch, but an extended rinse can cool the pearls too far. Move them into a warm syrup or coating while they are still workable, then serve within the texture window that your batch shows.
5. Record one texture cue for the next batch
Write down whether the pearls were too firm in the center, too soft on the outside, sticky after resting, or best soon after coating. Change one checkpoint next time and keep the tea, milk, syrup, and ice steady so the comparison stays useful.